How to delete a label from Jira cloud
Labels in Jira are an excellent way to organize your tasks, providing an easy method to categorize and filter issues.
However, when you no longer need a label, you might find yourself wondering how to delete it. In this guide, we’ll walk you through the process of effectively “deleting” a label in Jira Cloud.
The Myth of Deleting a Label
First, it’s important to clarify that Jira does not offer a direct method to delete a label. This can be confusing, especially if you’re accustomed to other tools where deleting tags or labels is straightforward. In Jira, labels are tied to issues. Therefore, the only way to delete a label is to remove it from all issues where it’s been applied. Once the label is no longer in use on any issue, Jira will automatically remove it in the background.
Step-by-Step: How to Remove a Label from All Issues
- Search for the Label in Jira – To start, you’ll need to find all the issues that are using the label you want to remove. This can be done using Jira’s search feature.
- Go to the Issues section in the Jira navigation menu.
- Click on Search for Issues.
- In the search bar, type
labels = "YourLabel"(replace"YourLabel"with the name of the label you want to delete). - Hit Search to see all issues that have this label.
- Bulk Edit to Remove the Label – Once you’ve identified all the issues with the label, the next step is to remove the label.
- Select all the issues that appear in your search results.
- Click on the Tools menu and select Bulk Change.
- Choose the option to Edit Issues.
- In the bulk edit options, scroll down to the Labels field.
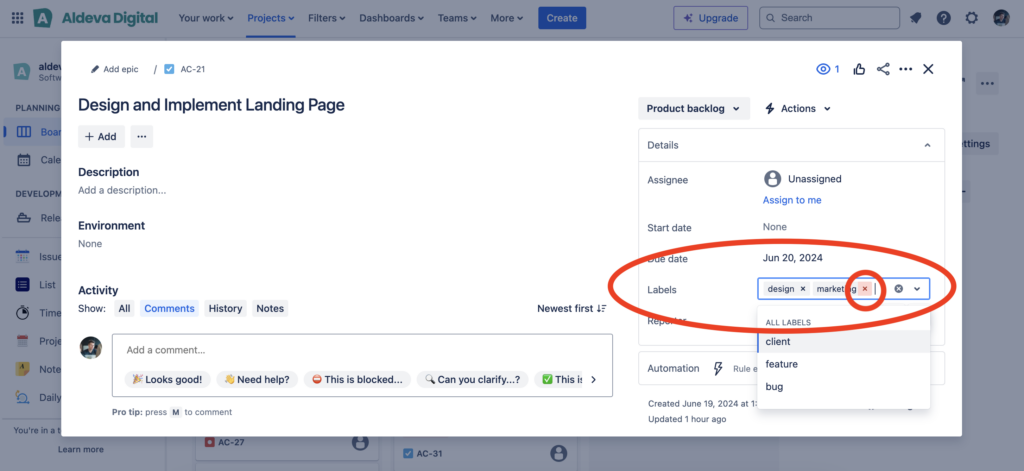
- Here, you can type the label you want to remove and then click on the remove icon (usually a small “x” next to the label).
- Proceed with the bulk change, and Jira will remove the label from all selected issues.
- Verify the Label is Removed – After the bulk edit is complete, you can run the search again to ensure that no issues have the label. If the search returns no results, the label has been successfully removed from all issues.
- After the bulk edit is complete, you can run the search again to ensure that no issues have the label. If the search returns no results, the label has been successfully removed from all issues.

A better solution: Simple Label Management for Jira
Fortunately, there’s a much easier way to delete labels in Jira without going through this cumbersome process. Simple Label Management for Jira plugin simplifies the process entirely. With this tool, you can delete a label just by its name, and the plugin will handle the rest.
Conclusion
While the process of “deleting” a label in Jira might initially seem unclear, it’s actually quite straightforward once you understand how Jira manages labels. By removing the label from all issues, you’re effectively deleting it from your Jira environment.
